
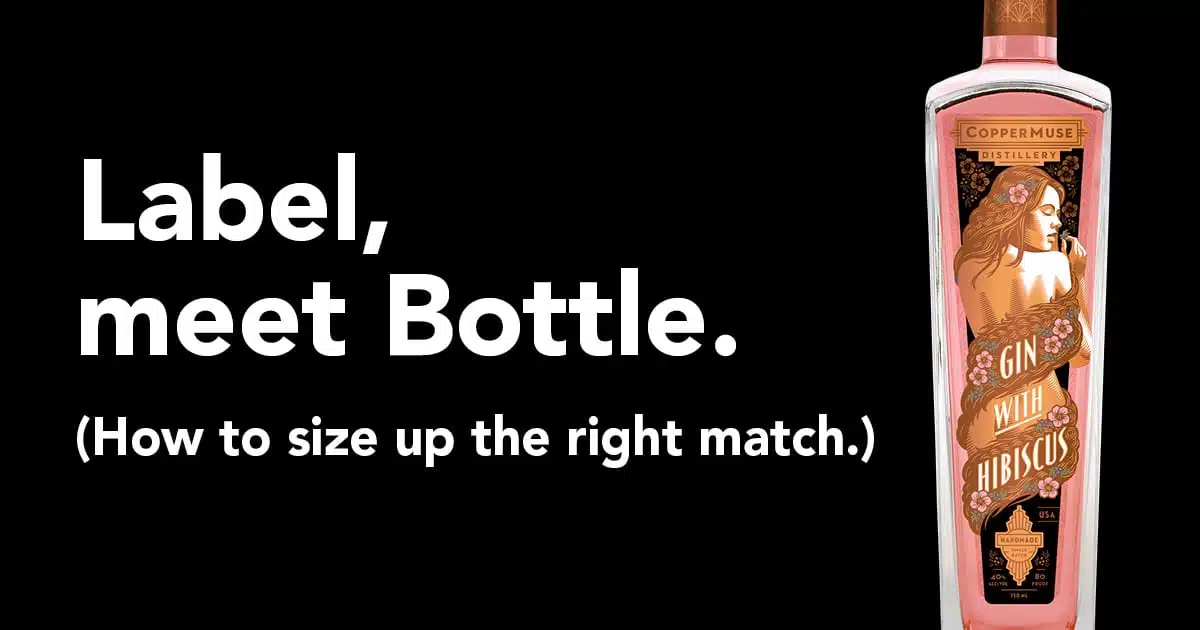
Your product label deserves the same time, attention, and research you give to your actual product. It is your first and foremost way to attract and motivate customers. Choosing the right label size and shape for your packaging is a key consideration in this effort. It also influences design, cost, and label application.
Getting your label size wrong can result in product labels that don’t adhere properly and form wrinkled edges or flagging, which leads to peeling, tearing, and, ultimately, a negative impact on perceived quality and brand appeal.
Here’s how to get it right.
1. Determine what goes on your label
Before you even begin a label design – or even your package size or shape – first consider what information will and must be included: logo/brand name, ingredients, net weight, directions, health or environmental benefits, warnings, barcode, etc. All this information must be clear, legible, and visually appealing when printed. If you choose an inadequate label size, the information will be compromised.
Knowing all that needs to be conveyed will help you determine the best label size and will also influence your packaging size or shape selection.
2. Choose your package shape
There are countless shapes and sizes available for bottles, jars, and containers (not to mention materials) and there are no standard-size bottles. Also, many containers can have the same capacity but vary widely in shape and contour. This presents challenges, but also lots of opportunities to stand out and find a package design that best suits your product and brand image.
There are three primary bottle or container shapes that offer different benefits and label size considerations:
• Round: This is the most common container shape and offers the ability to completely wrap around your label for maximum information. When determining label size and space, be mindful of the truly flat surface of the bottle and any ridges (like a food jar) or the point where the shoulder or curve of the bottle begins (like a beer can).
To avoid issues, it is recommended to reduce the label size to ¼” in width and 1/8” in height to keep the label well within the flat surface space and eliminate the need for the ends to line up exactly. If an overlapping effect is desired, add ¼” to the label width to ensure adequate overlap.

• Tapered: This bottle shape changes in width from top to bottom – narrow at the top and gradually widening or vice versa (like a wine bottle). Some tapered containers are subtle and barely visible to the eye, others can taper in more than one direction.
Applying rectangular labels to this shape can create performance issues such as wrinkles and bubbles since the labels cannot lie flat on the surface. The best label solutions for tapered bottles include a smaller label, curved label, or even a shrink sleeve that wraps completely and smoothly around the container

• Unusual shapes. Bottles with unique shapes and contours provide enormous branding potential, but also present the most challenges, depending on how much surface area you want your label to cover.
Like tapered bottles, shrink sleeve labels can be an ideal solution for labels on unusually shaped containers.
3. Measuring your container
Once you’ve selected a bottle shape and size, you will want to determine the surface space you have to work with to place a label on your container. Use a flexible measuring tape or paper ruler that will allow you to easily measure the surface contour(s).
For round containers, wrap your measuring tool all the way around your container to find the width. To find the height, measure the flat surface only (from top curve to bottom curve).
Measuring the surface area of tapered and unusual-shaped bottles is a bit more complex and requires a consultation with your print provider to determine the right label size and area.
With initial estimates, you can mockup your label size and shape and tape it to your bottle to see how it looks.
4. Consult a print expert
Whether you’re introducing a new product or redesigning packaging for an existing product, it is always best to bring your print provider into the discussion early on.
• Share your package choice(s) with them for feedback on production challenges and other design considerations.
• Provide them with a physical sample of your bottle or container choice.
• Discuss your label needs and design ideas to avoid print quality issues later.
• Get an initial estimate to ensure your label vision fits your budget.
The right size and shape for your label are out there. You just have to know what to look for.